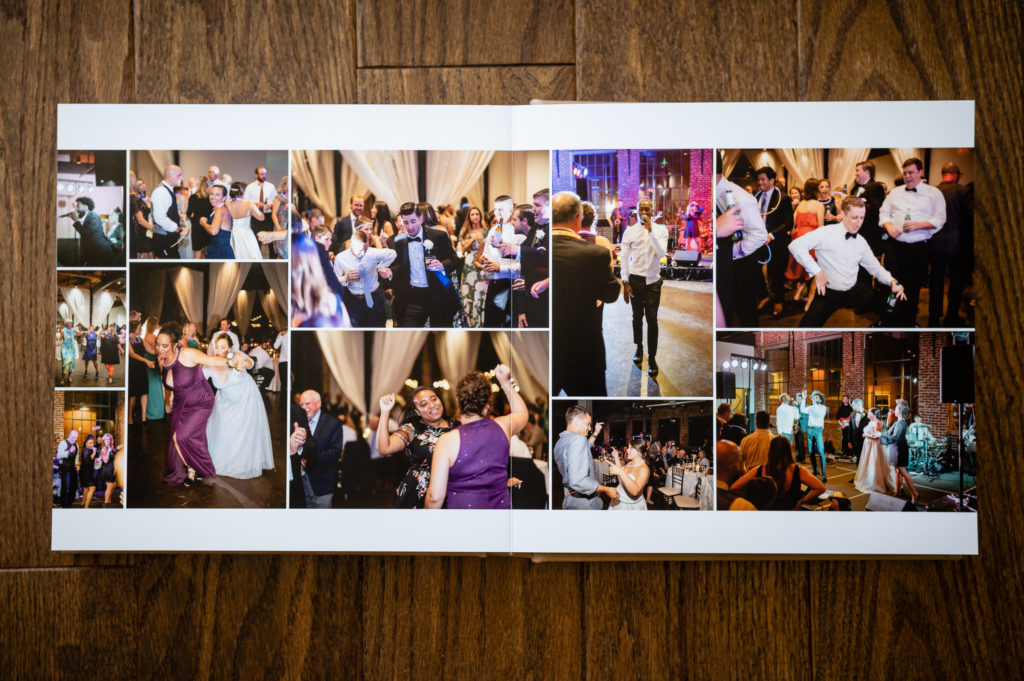
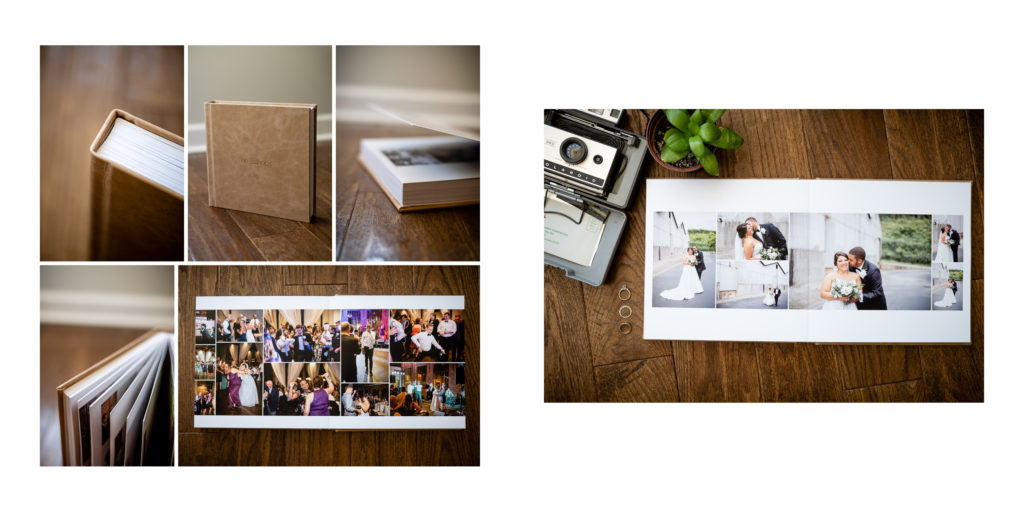
Designing a beautiful, meaningful wedding album doesn’t have to be difficult. Here are three tips for making it a little easier to create the perfect album for you:
- START WITH YOUR FAVORITES – pick the first 10 photos you absolutely love. There’s a good chance that most of them are the ones you’ve already posted on Facebook or shared with friends. Start small and build from there. We promise it’ll make things easier.
- GET CHRONOLOGICAL – think of the album as a way to tell your story. Like when telling most stories, start at the beginning. First, throw in photos of the venue, your wedding invitation and even your rings to set the scene. Next pick your favorite getting ready photos and maybe even a photo of the wedding dress. Then choose a few ceremony images followed by a few spreads with your favorite portraits as a couple. All good stories should also have a fun ending. Include a few photos from the reception, like your father daughter dance and Uncle Bob’s dance moves, and end with a spread showcasing your grand sparkler exit (because why not?). Make sure all the different parts of the day have their own spreads. For instance, don’t cram the “setting the scene” photos and “getting ready” photos on the same spread. Give each part of your day time to shine. Each section is like a “chapter” in your story.
- DETAILS. DETAILS. DETAILS. – I touched on this a little before, but always throw in a few detail shots of the ring or your perfume bottle to add a little pizzaz. Sometimes the smallest details pack a big punch and make your story unique. Even a photo of the cake works nicely on a spread with photos from the reception.
Don’t have the time to spend hours on the computer culling through photos? We got you!
Just inquire HERE (even if we weren’t your wedding photograhes) and let’s get designing!


comments +